Causes of Paint Flaking

The bathroom, with its constant exposure to moisture and humidity, presents unique challenges for paint. Paint flaking on bathroom ceilings is a common issue, and understanding its causes is crucial for effective prevention and repair.
Moisture and Humidity
Moisture and humidity play a significant role in paint deterioration. Excessive moisture can penetrate the paint layer, causing it to soften, swell, and eventually flake off. This process is exacerbated by high humidity levels, which create a conducive environment for mold and mildew growth. These microorganisms can further weaken the paint film, leading to flaking.
Poor Ventilation
Insufficient ventilation in the bathroom can trap moisture, creating a humid environment that promotes paint flaking. Without adequate air circulation, condensation can form on the ceiling, leading to the accumulation of moisture and the subsequent deterioration of the paint.
Paint Types Prone to Flaking
Certain types of paint are more susceptible to flaking in bathrooms due to their composition and properties. For example, oil-based paints, while durable, are prone to cracking and flaking in humid environments. This is because oil-based paints tend to form a hard, brittle film that can be easily damaged by moisture. Latex paints, on the other hand, are generally more flexible and moisture-resistant. However, low-quality latex paints may still be susceptible to flaking in bathrooms with high humidity levels.
Chemical Reactions
Paint flaking can also be caused by chemical reactions between the paint and the environment. For example, the presence of certain chemicals in cleaning products can react with the paint, leading to its deterioration. Furthermore, the interaction of paint with moisture and oxygen can create a chemical reaction that weakens the paint film, causing it to flake. This process is known as oxidation, and it is accelerated by high temperatures and humidity.
Identifying the Problem

Paint flaking on your bathroom ceiling is not just an aesthetic issue; it can be a sign of underlying problems that could worsen if left unaddressed. Recognizing the severity of the problem is crucial for determining the best course of action.
Visual Signs of Paint Flaking
The appearance of flaking paint can vary, providing clues about the underlying cause. Here’s a breakdown of common visual signs:
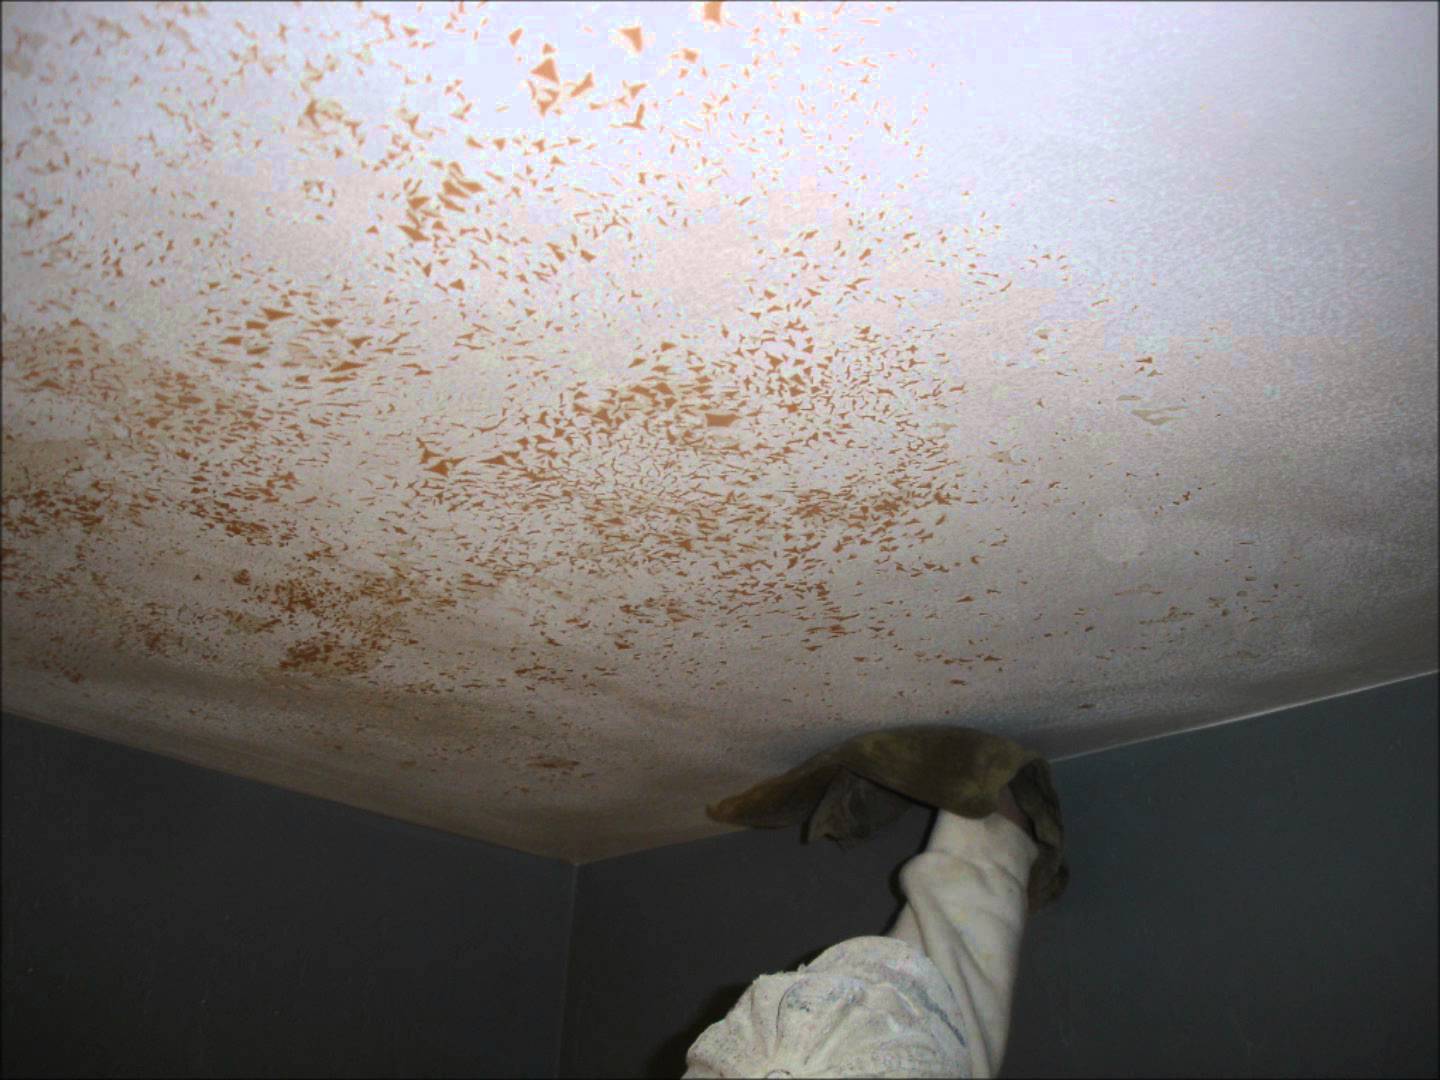
- Small, scattered flakes: This often indicates a minor issue, like poor paint adhesion or moisture trapped under the paint.
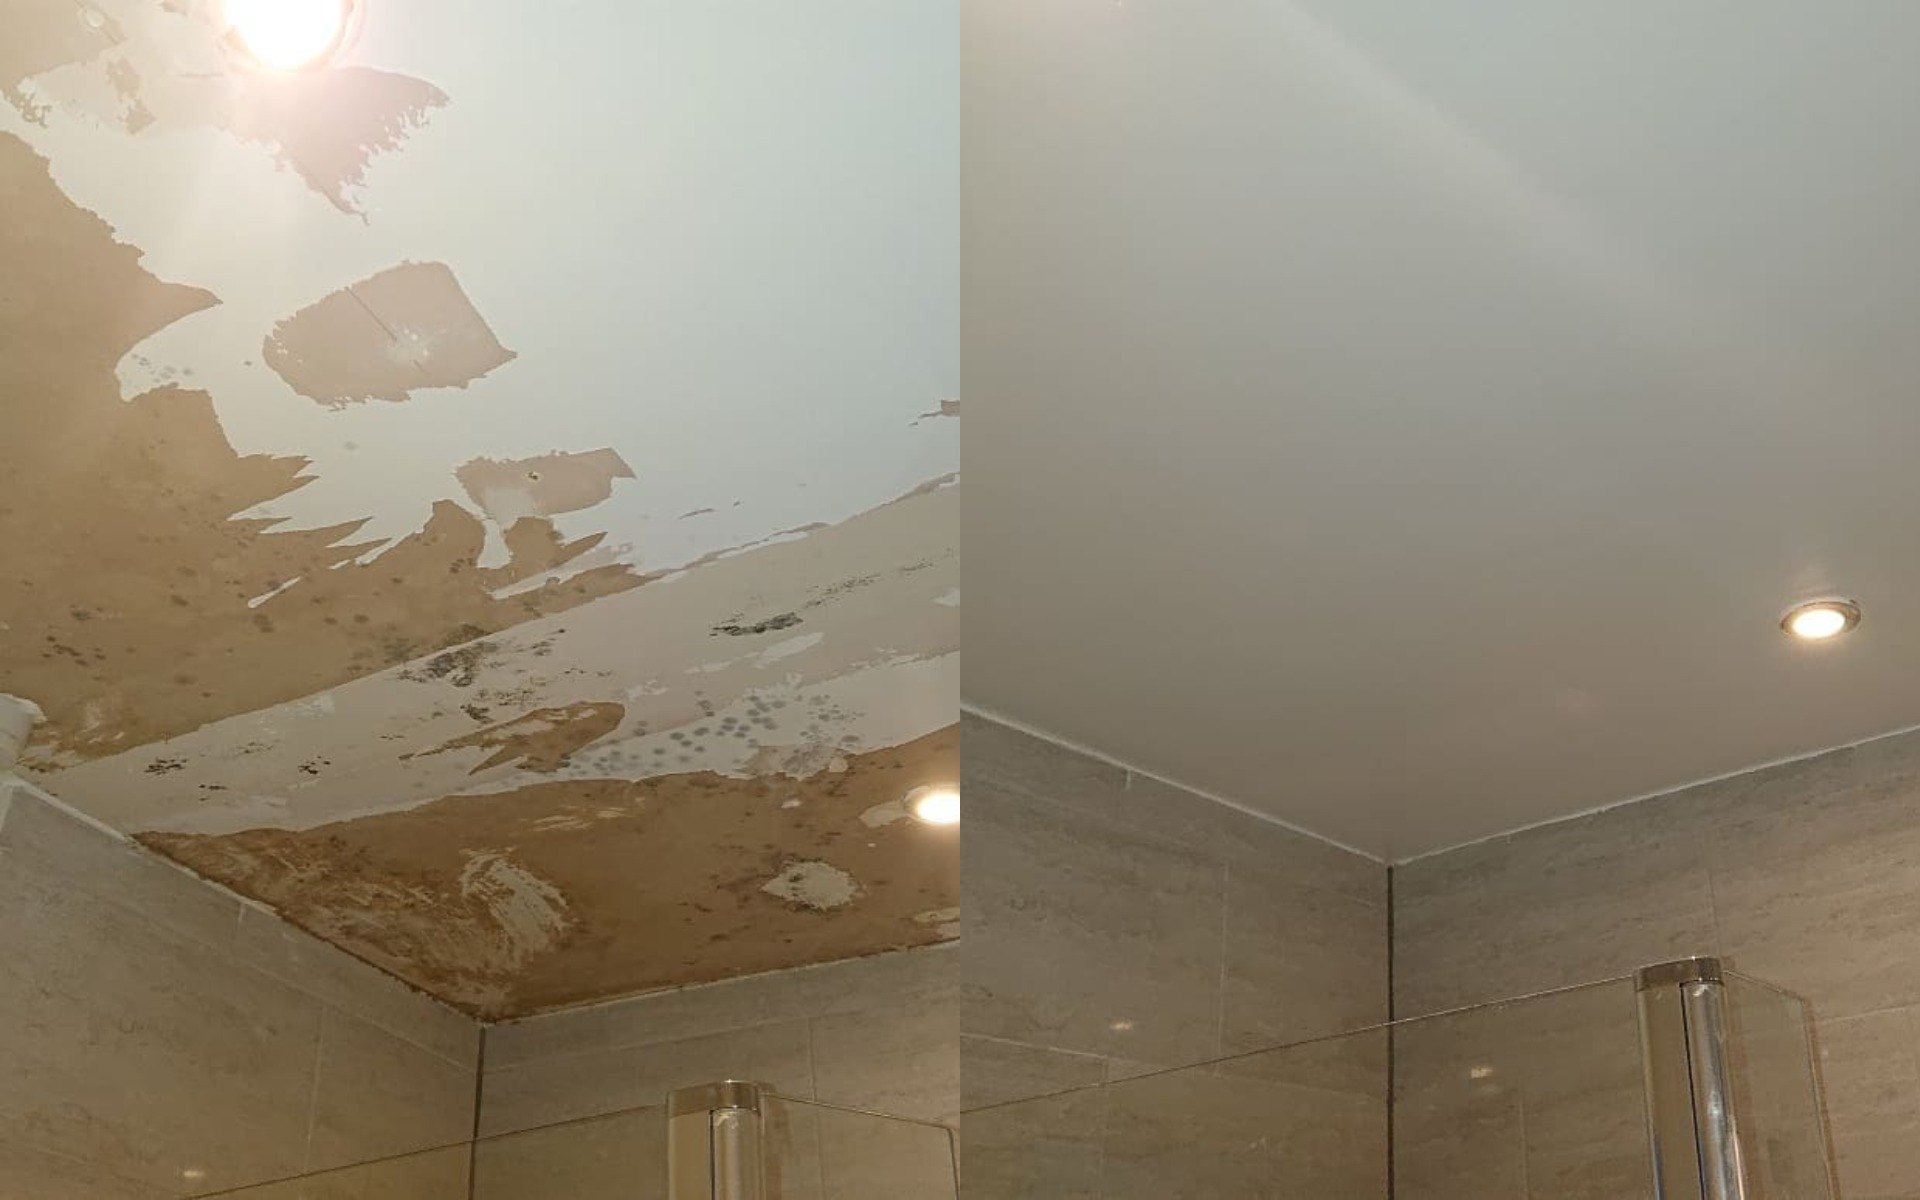
- Large, peeling patches: These are usually a sign of more serious problems, like water damage, structural issues, or improper preparation before painting.
- Cracked or blistering paint: These signs could point to moisture trapped beneath the paint or extreme temperature fluctuations.
- Discoloration or mold growth: This indicates a moisture problem that needs immediate attention.
Inspecting the Bathroom Ceiling
A thorough inspection of the bathroom ceiling can reveal the extent of the problem and help identify its root cause. Here’s how to do it:
- Visual examination: Carefully observe the entire ceiling, paying attention to areas with flaking paint. Look for patterns, such as concentrated flaking in specific areas, which might indicate a leak or moisture buildup.
- Touch test: Gently touch the flaking areas to assess the paint’s adhesion. If the paint easily crumbles, it’s likely a sign of poor adhesion or moisture damage.
- Sound test: Tap on the ceiling with a light object. A hollow sound could indicate a void or separation between the paint and the ceiling surface, suggesting a structural issue or water damage.
Determining the Extent of Flaking
Once you’ve inspected the ceiling, you need to determine if the flaking is isolated or widespread.
- Isolated flaking: This is usually a minor problem that can be addressed with localized repairs.
- Widespread flaking: This often signifies a more serious issue, like water damage or structural problems.
Identifying the Underlying Cause
Flaking paint is rarely a standalone problem. It’s usually a symptom of a deeper issue. Here’s how to pinpoint the root cause:
- Moisture: Leaky pipes, condensation, or inadequate ventilation can all contribute to moisture buildup, leading to paint flaking. Look for signs of water damage, like discoloration, warped ceiling panels, or mold growth.
- Structural issues: Cracks in the ceiling, sagging drywall, or improper insulation can weaken the ceiling surface, causing paint to flake.
- Poor paint application: Insufficient preparation, improper primer application, or using the wrong type of paint can lead to poor paint adhesion and flaking.
Checklist for Homeowners
Here’s a simple checklist to help you assess the paint flaking issue:
- Visual inspection: Note the extent and pattern of flaking.
- Touch and sound tests: Assess the paint’s adhesion and check for any hollow sounds.
- Moisture sources: Inspect for leaks, condensation, or ventilation issues.
- Structural integrity: Check for cracks, sagging, or other signs of damage.
- Previous painting history: Consider the type of paint used, preparation methods, and the age of the paint.
Solutions and Prevention: Paint Flaking Off Bathroom Ceiling

So, your bathroom ceiling is looking like a Jackson Pollock painting? Don’t worry, we’ve got you covered. This section is all about fixing that flaking and preventing it from happening again. We’ll walk you through the repair process, explain the importance of prep work, and discuss the best paint for your bathroom ceiling.
Repairing a Flaking Bathroom Ceiling
First things first, you’ll need to get rid of all that loose paint. This might involve a scraper, sandpaper, or even a wire brush. Be careful not to damage the underlying surface. Once the loose paint is gone, you’ll need to clean the ceiling with a damp cloth to remove any dust or debris.
Now, here’s the step-by-step guide to repairing a flaking bathroom ceiling:
1. Remove Loose Paint: Scrape off all the loose paint with a scraper, sandpaper, or a wire brush.
2. Clean the Surface: Wipe down the ceiling with a damp cloth to remove dust and debris.
3. Apply Primer: Apply a primer designed for bathroom surfaces to help the new paint adhere properly.
4. Patch Cracks and Holes: Use patching compound to fill in any cracks or holes.
5. Sand the Surface: Smooth out the patched areas with sandpaper.
6. Apply Paint: Apply two coats of high-quality bathroom paint.
Importance of Surface Preparation
You know how they say, “good things take time”? Well, the same goes for painting. Skipping prep work is like trying to build a house on a foundation of sand – it’s just asking for trouble.
Here’s why prepping is so crucial:
– Better Adhesion: A clean, smooth surface allows the paint to adhere properly, preventing future flaking.
– Smoother Finish: A well-prepared surface ensures a smoother, more even finish.
– Longer-Lasting Paint: A properly prepared surface helps your paint last longer, saving you time and money in the long run.
Choosing the Right Paint
Bathroom ceilings are a unique beast. They’re constantly exposed to moisture, humidity, and temperature fluctuations. That’s why you need a paint that can handle the heat (or, in this case, the steam).
Types of Paint for Bathroom Ceilings
| Paint Type | Advantages | Disadvantages | Suitability for Bathroom Ceilings | Acrylic Latex Paint | Easy to apply, dries quickly, durable, washable | Not as mildew-resistant as other options | Good for bathrooms with moderate humidity | Epoxy Paint | Highly durable, mildew-resistant, water-resistant | Can be difficult to apply, requires proper ventilation | Excellent for bathrooms with high humidity | Oil-Based Paint | Durable, mildew-resistant, water-resistant | Takes longer to dry, can be smelly | Suitable for bathrooms with high humidity |
|---|
Preventing Future Paint Flaking, Paint flaking off bathroom ceiling
Here’s the deal: you don’t want to be going through this flaking drama again, right? So, here are some tips to prevent future paint flaking:
– Ventilate Your Bathroom: Use a fan to remove moisture and humidity from the air.
– Keep the Humidity Low: Don’t let your bathroom become a sauna. Use a dehumidifier if necessary.
– Clean Regularly: Wipe down your bathroom walls and ceiling regularly to remove dust and debris.
– Use High-Quality Paint: Invest in a paint specifically designed for bathrooms.
– Properly Prep the Surface: Always take the time to properly prep the surface before painting.
